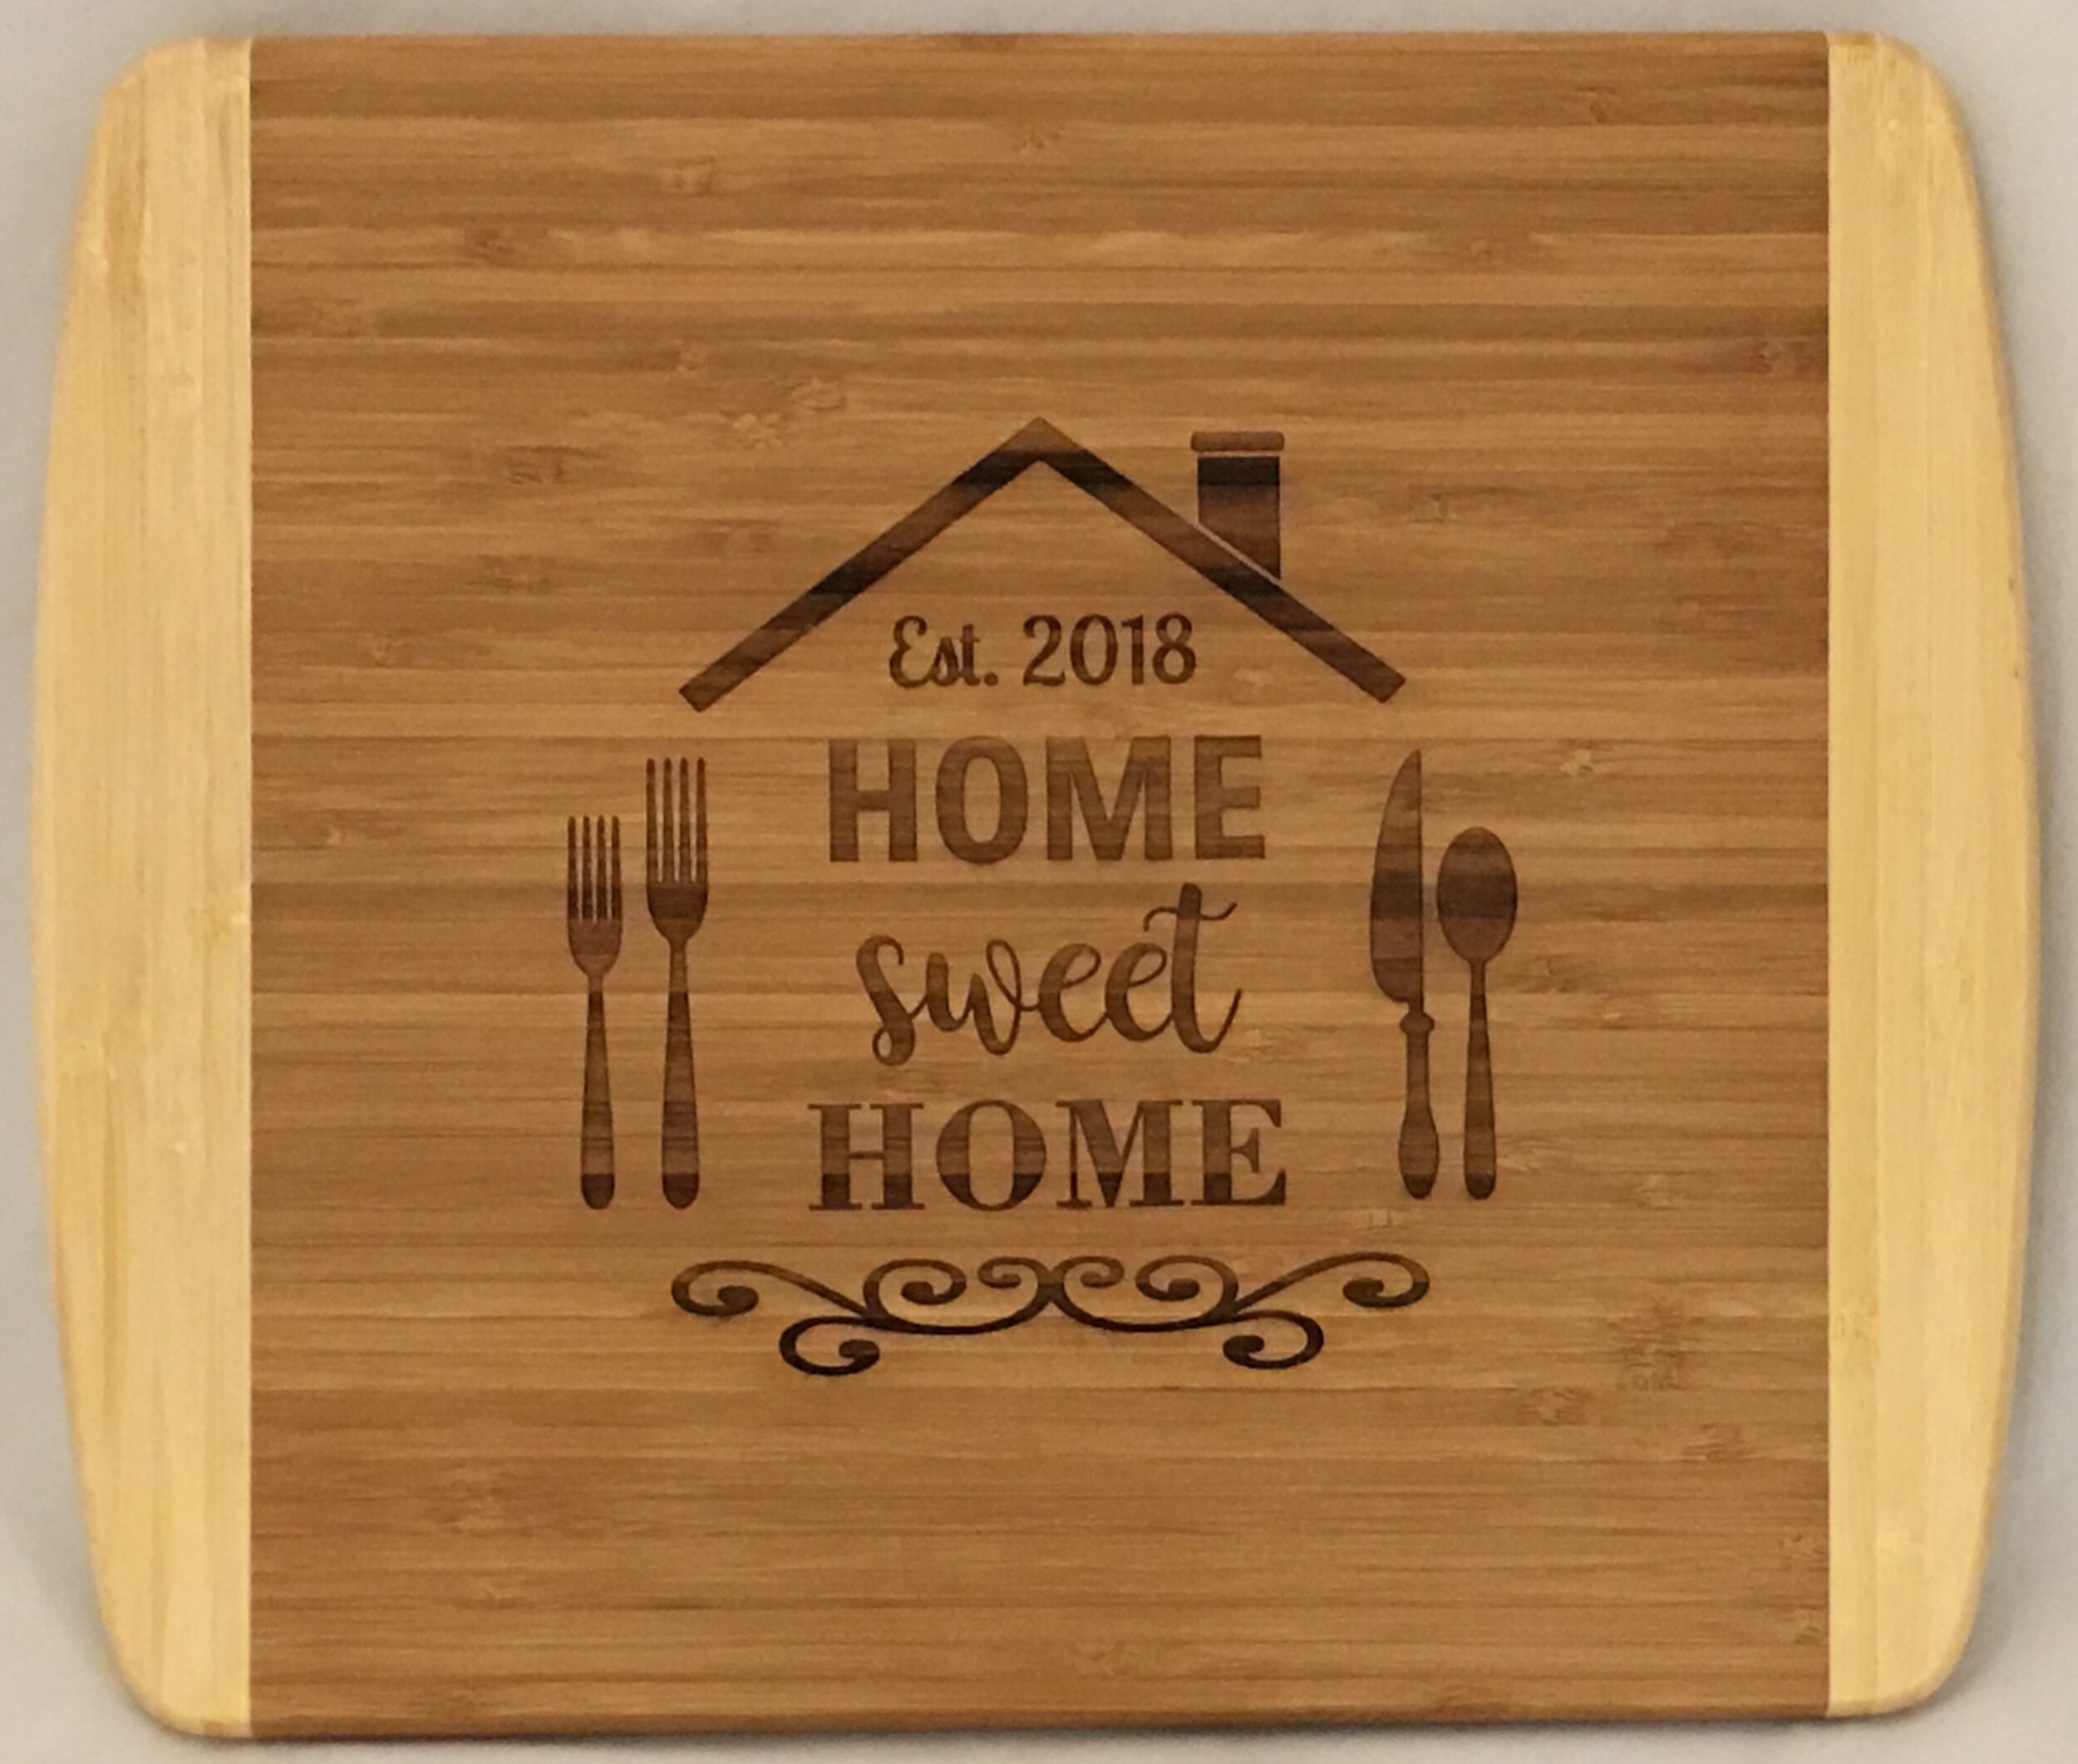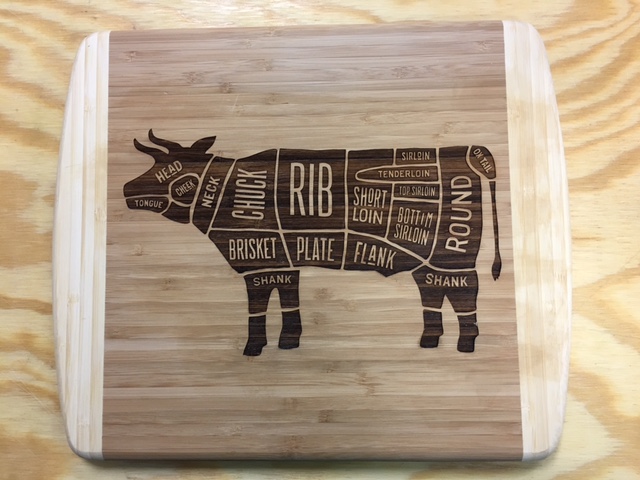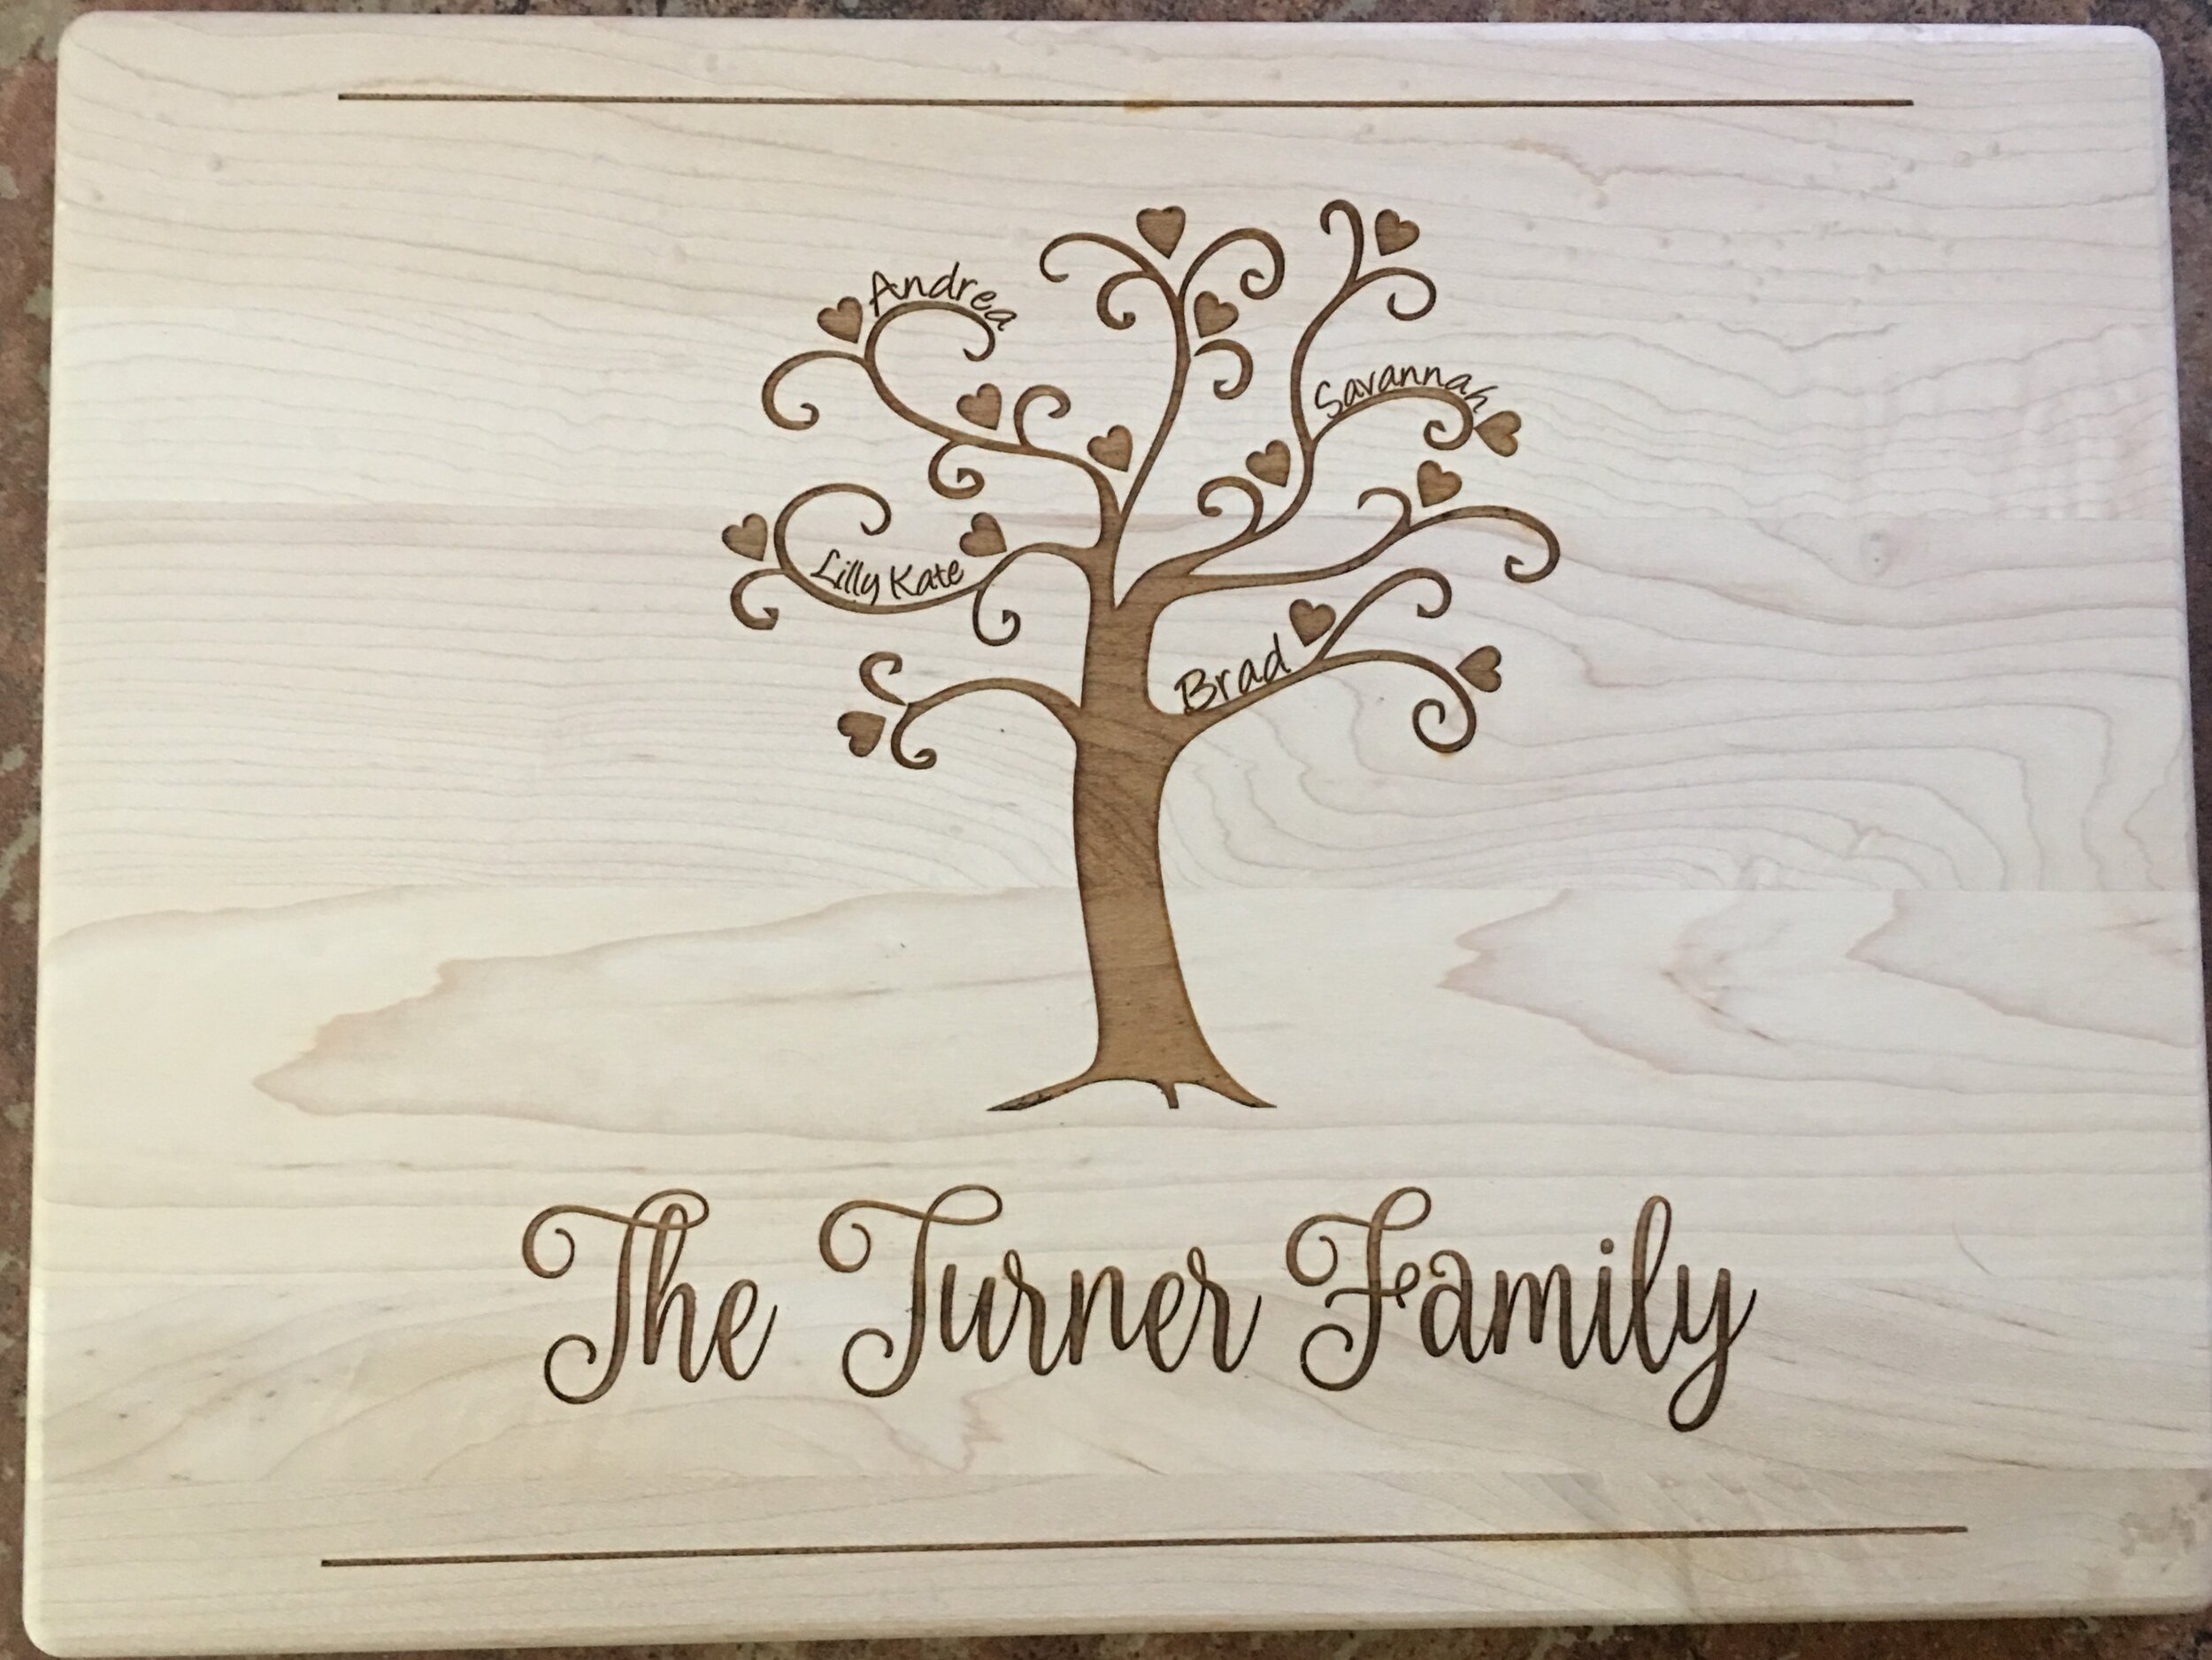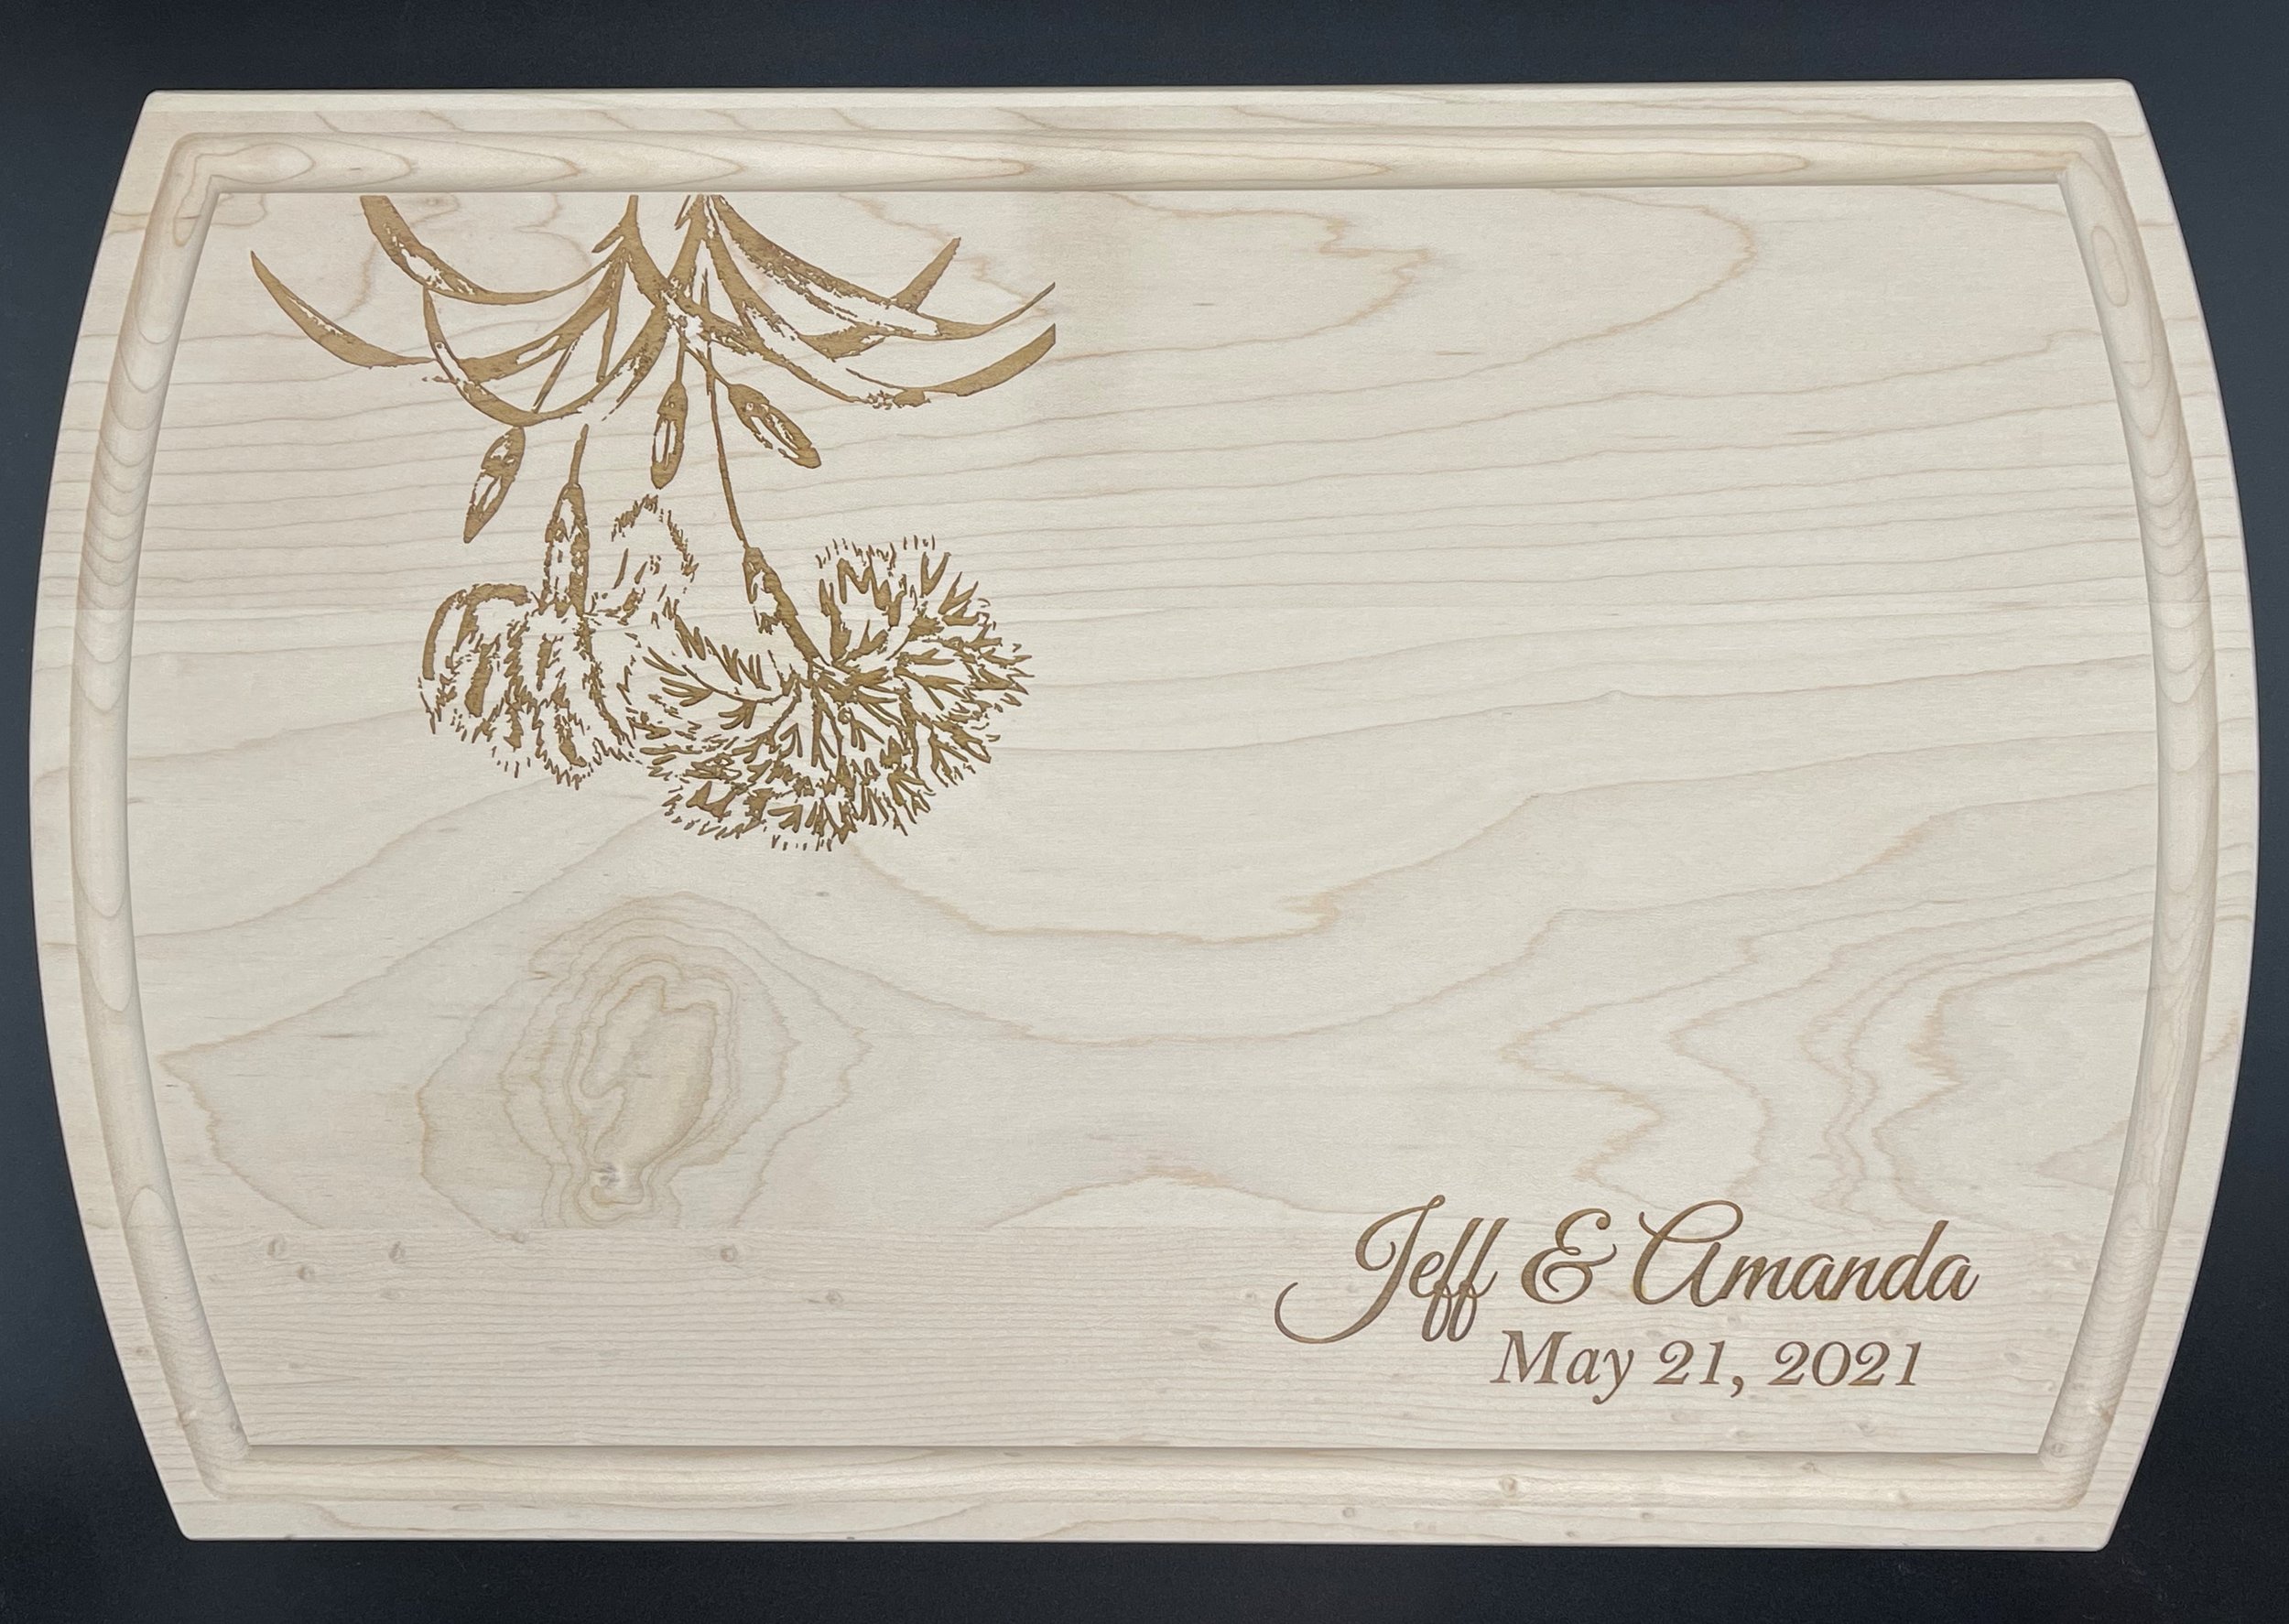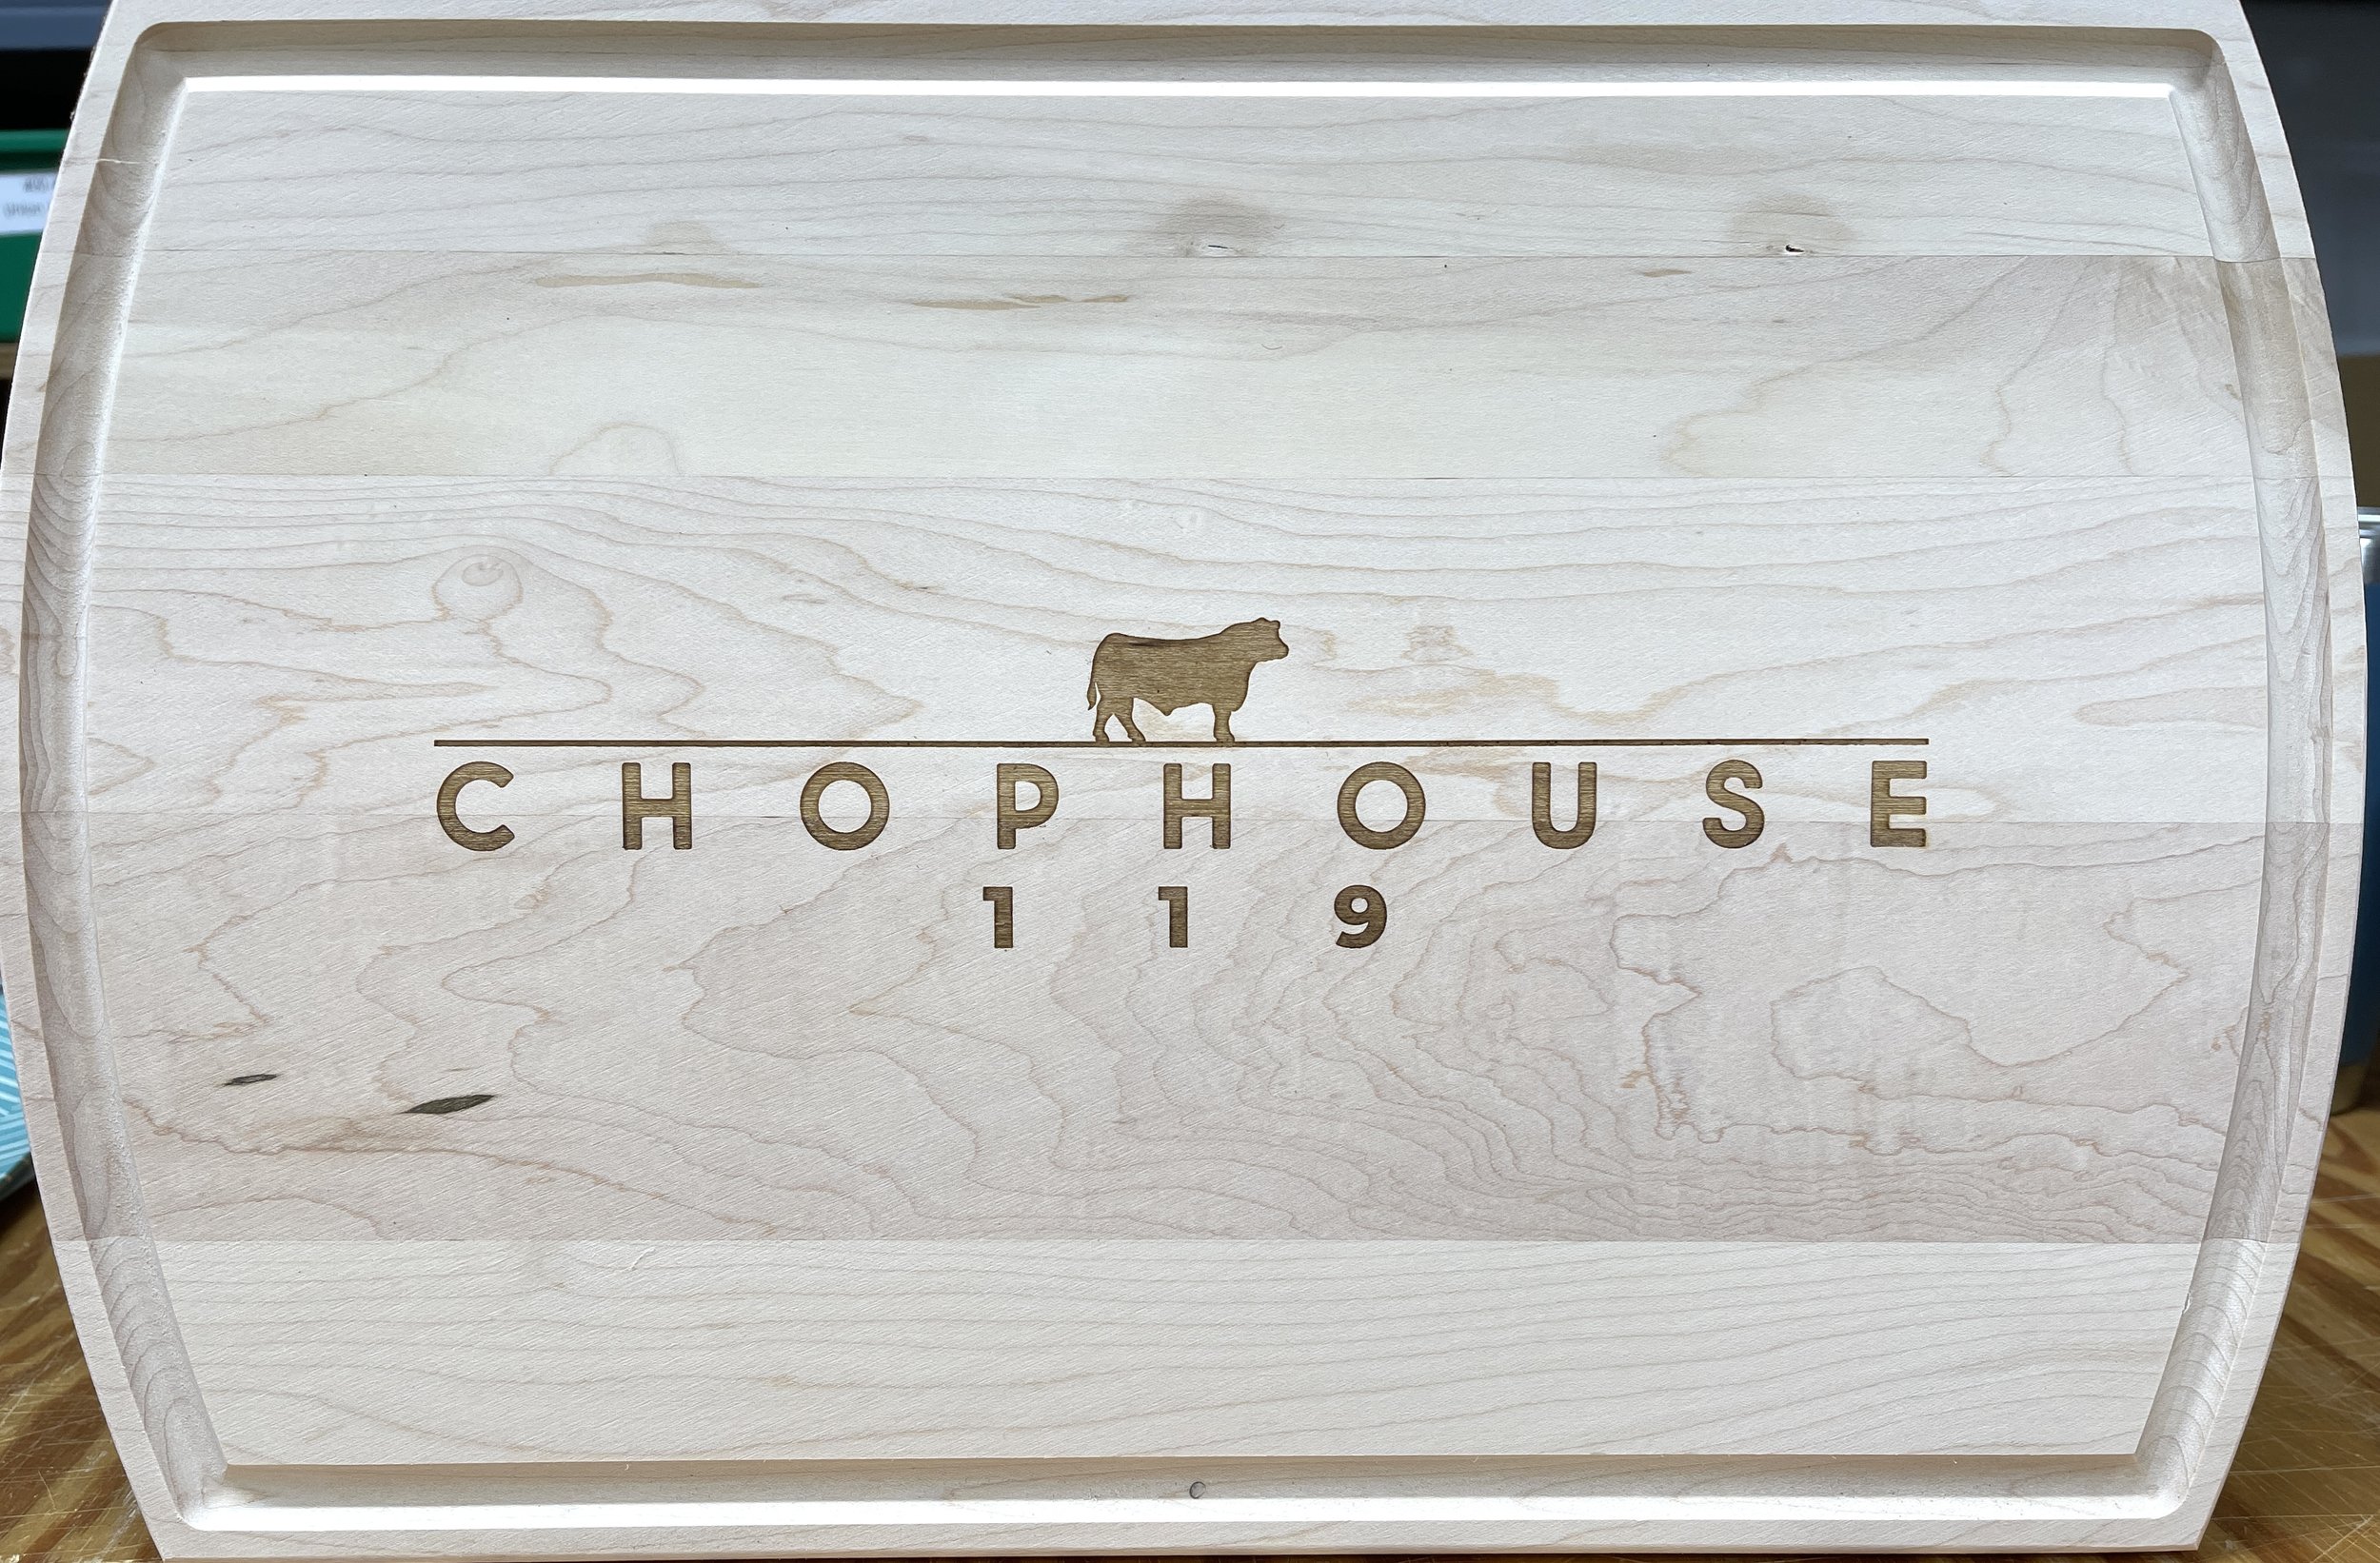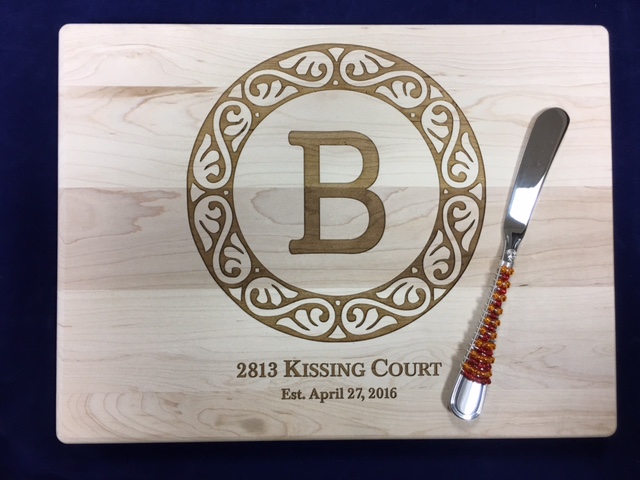
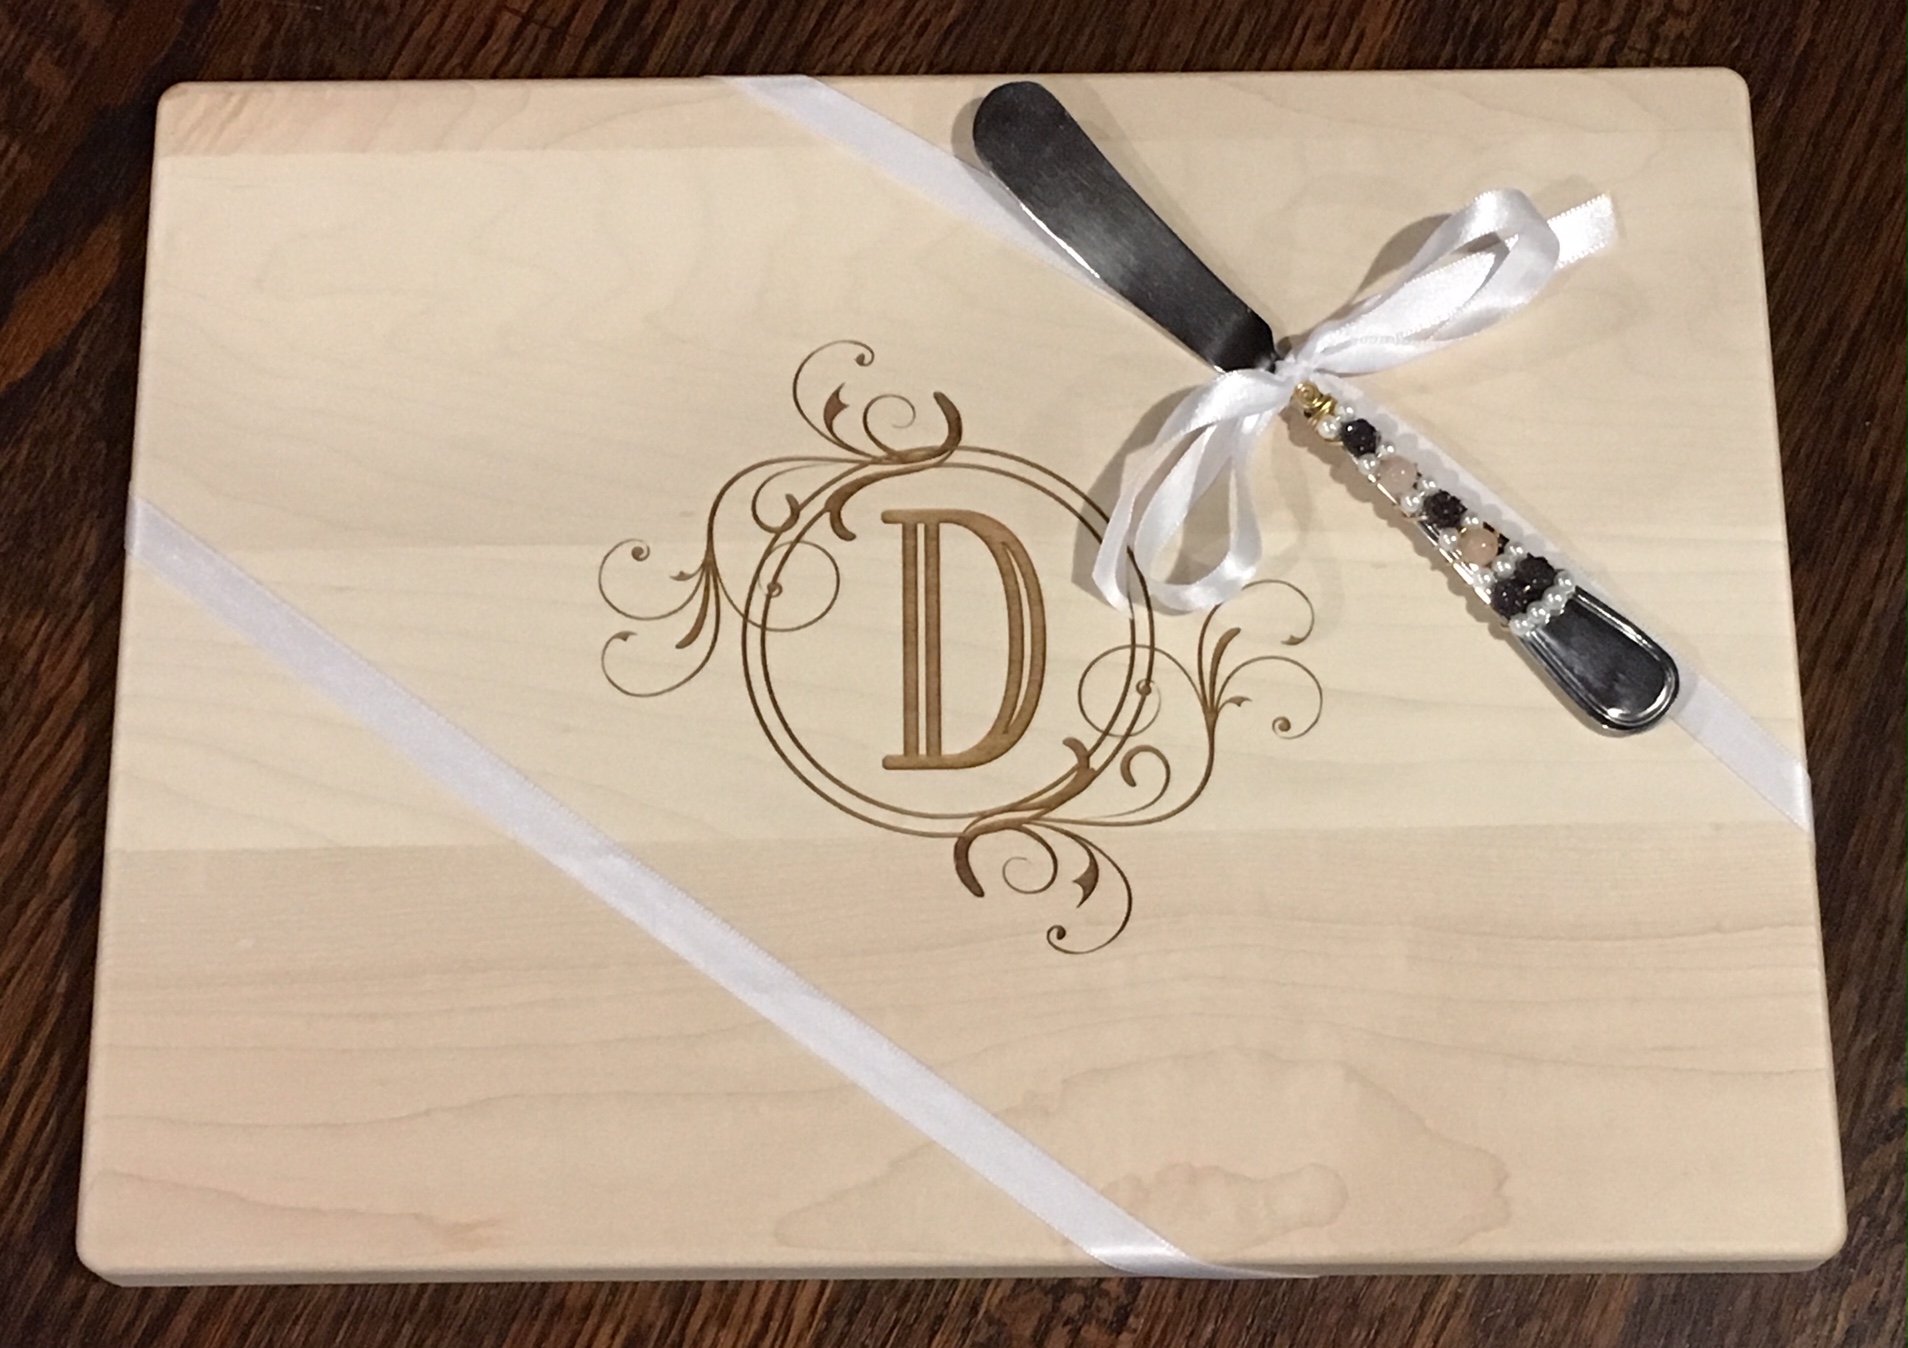
Maple Cheese Board with Knife Set
(Click on our Design Gallery for ideas)
12 x 9 inch cheese board
Made from Vermont maple.
We pair it with a Serve with Verve spreader.
Great for a hostess gift or add your company logo and give as a corporate gift.
Price includes one side engraving



Additional Info
Wood Cutting Board Care & Maintenance
Wood Cutting Board Care & Maintenance
A wood cutting board is one of the most actively used kitchenware items in your home. In order to keep it looking great, and for it to become a long lasting fixture in your kitchen, it’s important that you give your cutting board the proper care it requires.
Hand-Wash Only, never submerge in water
To avoid bacteria formation, it’s important that you wash your cutting board immediately after use. Wipe the cutting board with hot soapy water, rinse it with hot water only and just wipe it dry with a clean dish towel. Store the cutting board in an upright position and in a dry area.
Important: Wood cutting boards should never be submerged in water, or washed in the dishwasher since this will cause it to warp and crack.
Disinfect & deodorize using vinegar
We recommend keeping a spray bottle of vinegar handy to disinfect & deodorize your wood cutting board. Acetic acid (white vinegar) is an excellent disinfectant that combats E. coli, Salmonella and other household bacteria. Spray vinegar on the wood cutting board, let sit for a few minutes and wipe it with a damp clean cloth.
Remove stains & deodorize with baking soda
You can also combine 2 tablespoons of baking soda, 1 tablespoon of salt and 3 tablespoons hot water to create a non-toxic cleaning agent. Mix these ingredients together to form a paste, and scrub the entire surface of the cutting board. Finally, wipe it with a warm wet cloth and dry with a dish towel.
Clean with coarse salt & lemon
For an all-natural clean, first try dampening the wood cutting board with a warm cloth and sprinkling coarse salt over it. Cut a lemon in half and scour the cut side of the lemon over the board while slightly squeezing the lemon juice out as you go. Let it stand for five minutes and use a scrub brush to remove the excess.
Disinfect using hydrogen peroxide
Hydrogen is a powerful oxidizer that is considered harmless in small amounts. To clean your wooden cutting board, pour 3% hydrogen peroxide on the board and spread it using a clean sponge or cloth. Let it stand for five minutes and then wipe with a warm wet sponge or cloth.
Disinfect using diluted chlorine bleach
Chlorine bleach is best used if you are attempting to sterilize your wooden cutting board after using it to cut raw meat (including fish or poultry). It is safe to use only a single teaspoon of chlorine bleach per quart of water for the purpose of rinsing the board. Let the bleach take action on the bacteria for a few minutes, then rinse with hot water and dry thoroughly.
Refurbishing wood cutting board
It’s hard to avoid knife marks from accumulating on your cutting board over the years. The wonderful thing about a wood board is that it can be returned to its original splendor easily. All you need is three different grits of sand paper (100, 180 and 240 specifically). First sand the board with the coarser 100 grit, then the 180 and finish with the fine 240 grit. Once you are done with sanding, wash the board, let dry and apply oil. See reverse side for the different oils that can be used.
Cut Lightly
When using your wooden cutting board, make sure you pair it with sharp knives that make cutting easy, and apply minimal pressure to avoid creating deep gashes in your wooden cutting board. If your knives are dull, take them in to a professional knife sharpener—you’ll be surprised what a difference sharp knives can make in kitchen prep!
Food Safety Practices
According to U.S. Department of Health & Human Service’s food safety website the main steps to ensuring that your foods are prepared in a safe manner that reduces the risks of getting food poisoning or worse are:
Clean—Wash hands and utensils frequently. Wash fruits and veggies.
Separate—Keep meat, poultry, seafood, and eggs separate from all other foods
Cook—Cooked food is safe once it’s been heated to a high enough temperature to kill bacteria
Chill—Keep your family safe from food poisoning by refrigerating foods promptly
We recommend visiting the food safety website with your family, and brushing up on your food safety knowledge. Nobody wants a round of food poisoning!
Wood Cutting Board Oil Options
Even with light hand washing, eventually cracks can appear if the board is not oiled regularly. Oiling the wood cutting board frequently will also help repel food particles and prevent the board from becoming stained. Our recommendation for occasional use is to oil the board every two months at least, or once or twice a month if used more frequently.
It’s important to make sure that the cutting board is clean and dry before applying any of these oils.
Mineral oil
Mineral oil is the most commonly used option because it is a safe and cost effective way to keep your wood cutting board looking great for years. Food safe mineral oil can be purchase at your local drug store or major retailer.
Apply the mineral oil using a clean cloth and spread evenly over the board. Let the oil set in for a few hours, or even let it set overnight if you can. Afterward, wipe the excess oil off using a dry cloth.
Beeswax and mineral oil combo
You can combine mineral oil and beeswax in order to obtain the penetrating qualities of mineral oil, with the sealing qualities of beeswax.
In a small saucepan, measure 1/4 cup of beeswax (chunked for quicker melting) and 1 cup of mineral oil. Stir constantly on low heat until the beeswax is completely dissolved. If temperature is too high, the beeswax will discolor.
Take off the heat and let stand for a minute, then, pour in a mason jar and let it cool for a few hours, stirring once or twice every hour to make sure it is well blended. If you skip the stirring, the mixture won’t be as homogeneous.
Using a small dollop, rub it on your board with your clean fingers or a clean cotton rag until it disappears and let it soak for 5-15 minutes. With a clean cotton cloth, buff in a circular motion until the finish is smooth.
You’re done! Keep the jar of oil in your pantry until you need to re-oil your boards or wooden spoons. Do not forget to label it!
Coconut oil
If you absolutely require an all-natural solution, and beeswax alone doesn’t give you the desired results, coconut oil makes a good alternative. It doesn’t go rancid as easily as vegetable oil and allergic reactions are rare.
Taking a chunk and warming it between your clean hands and then rubbing it directly on the board or melting it for 15 seconds in the microwave and then rubbing it on your board will condition it; you will need between a teaspoon and a tablespoon to complete the task. Then, let it sit for a few hours or overnight. Wipe the excess oil or reapply. More than one coat may be necessary. The more the wood is dry, the more oil you will need.
You can also add one part beeswax and four parts coconut oil. Place in a small pot, heat on the stove top on low, melt and mix together. Let it cool slightly, and spread it all over the board. If the oil and beeswax hardens, it will melt in your hand.
Avoid vegetable or nut-based oil
Do not use vegetable oil on your cutting board for the simple reason that it will spoil and become rancid. This will leave your wood cutting board with an unpleasant smell that will also noticeably change the taste of the food you are preparing.
Nut and seed based oils (linseed “flax”, tung oil, etc) are less prone to the vegetable oil issues, but some people have sensitive allergies and they can react negatively to trace amounts.
A wood cutting board is one of the most actively used kitchenware items in your home. In order to keep it looking great, and for it to become a long lasting fixture in your kitchen, it’s important that you give your cutting board the proper care it requires.
Hand-Wash Only, never submerge in water
To avoid bacteria formation, it’s important that you wash your cutting board immediately after use. Wipe the cutting board with hot soapy water, rinse it with hot water only and just wipe it dry with a clean dish towel. Store the cutting board in an upright position and in a dry area.
Important: Wood cutting boards should never be submerged in water, or washed in the dishwasher since this will cause it to warp and crack.
Disinfect & deodorize using vinegar
We recommend keeping a spray bottle of vinegar handy to disinfect & deodorize your wood cutting board. Acetic acid (white vinegar) is an excellent disinfectant that combats E. coli, Salmonella and other household bacteria. Spray vinegar on the wood cutting board, let sit for a few minutes and wipe it with a damp clean cloth.
Remove stains & deodorize with baking soda
You can also combine 2 tablespoons of baking soda, 1 tablespoon of salt and 3 tablespoons hot water to create a non-toxic cleaning agent. Mix these ingredients together to form a paste, and scrub the entire surface of the cutting board. Finally, wipe it with a warm wet cloth and dry with a dish towel.
Clean with coarse salt & lemon
For an all-natural clean, first try dampening the wood cutting board with a warm cloth and sprinkling coarse salt over it. Cut a lemon in half and scour the cut side of the lemon over the board while slightly squeezing the lemon juice out as you go. Let it stand for five minutes and use a scrub brush to remove the excess.
Disinfect using hydrogen peroxide
Hydrogen is a powerful oxidizer that is considered harmless in small amounts. To clean your wooden cutting board, pour 3% hydrogen peroxide on the board and spread it using a clean sponge or cloth. Let it stand for five minutes and then wipe with a warm wet sponge or cloth.
Disinfect using diluted chlorine bleach
Chlorine bleach is best used if you are attempting to sterilize your wooden cutting board after using it to cut raw meat (including fish or poultry). It is safe to use only a single teaspoon of chlorine bleach per quart of water for the purpose of rinsing the board. Let the bleach take action on the bacteria for a few minutes, then rinse with hot water and dry thoroughly.
Refurbishing wood cutting board
It’s hard to avoid knife marks from accumulating on your cutting board over the years. The wonderful thing about a wood board is that it can be returned to its original splendor easily. All you need is three different grits of sand paper (100, 180 and 240 specifically). First sand the board with the coarser 100 grit, then the 180 and finish with the fine 240 grit. Once you are done with sanding, wash the board, let dry and apply oil. See reverse side for the different oils that can be used.
Cut Lightly
When using your wooden cutting board, make sure you pair it with sharp knives that make cutting easy, and apply minimal pressure to avoid creating deep gashes in your wooden cutting board. If your knives are dull, take them in to a professional knife sharpener—you’ll be surprised what a difference sharp knives can make in kitchen prep!
Food Safety Practices
According to U.S. Department of Health & Human Service’s food safety website the main steps to ensuring that your foods are prepared in a safe manner that reduces the risks of getting food poisoning or worse are:
- Clean—Wash hands and utensils frequently. Wash fruits and veggies.
- Separate—Keep meat, poultry, seafood, and eggs separate from all other foods
- Cook—Cooked food is safe once it’s been heated to a high enough temperature to kill bacteria
- Chill—Keep your family safe from food poisoning by refrigerating foods promptly
We recommend visiting the food safety website with your family, and brushing up on your food safety knowledge. Nobody wants a round of food poisoning!
Wood Cutting Board Oil Options
Even with light hand washing, eventually cracks can appear if the board is not oiled regularly. Oiling the wood cutting board frequently will also help repel food particles and prevent the board from becoming stained. Our recommendation for occasional use is to oil the board every two months at least, or once or twice a month if used more frequently.
It’s important to make sure that the cutting board is clean and dry before applying any of these oils.
Mineral oil
Mineral oil is the most commonly used option because it is a safe and cost effective way to keep your wood cutting board looking great for years. Food safe mineral oil can be purchase at your local drug store or major retailer.
Apply the mineral oil using a clean cloth and spread evenly over the board. Let the oil set in for a few hours, or even let it set overnight if you can. Afterward, wipe the excess oil off using a dry cloth.
Beeswax and mineral oil combo
You can combine mineral oil and beeswax in order to obtain the penetrating qualities of mineral oil, with the sealing qualities of beeswax.
In a small saucepan, measure 1/4 cup of beeswax (chunked for quicker melting) and 1 cup of mineral oil. Stir constantly on low heat until the beeswax is completely dissolved. If temperature is too high, the beeswax will discolor.
Take off the heat and let stand for a minute, then, pour in a mason jar and let it cool for a few hours, stirring once or twice every hour to make sure it is well blended. If you skip the stirring, the mixture won’t be as homogeneous.
Using a small dollop, rub it on your board with your clean fingers or a clean cotton rag until it disappears and let it soak for 5-15 minutes. With a clean cotton cloth, buff in a circular motion until the finish is smooth.
You’re done! Keep the jar of oil in your pantry until you need to re-oil your boards or wooden spoons. Do not forget to label it!
Coconut oil
If you absolutely require an all-natural solution, and beeswax alone doesn’t give you the desired results, coconut oil makes a good alternative. It doesn’t go rancid as easily as vegetable oil and allergic reactions are rare.
Taking a chunk and warming it between your clean hands and then rubbing it directly on the board or melting it for 15 seconds in the microwave and then rubbing it on your board will condition it; you will need between a teaspoon and a tablespoon to complete the task. Then, let it sit for a few hours or overnight. Wipe the excess oil or reapply. More than one coat may be necessary. The more the wood is dry, the more oil you will need.
You can also add one part beeswax and four parts coconut oil. Place in a small pot, heat on the stove top on low, melt and mix together. Let it cool slightly, and spread it all over the board. If the oil and beeswax hardens, it will melt in your hand.
Avoid vegetable or nut-based oil
Do not use vegetable oil on your cutting board for the simple reason that it will spoil and become rancid. This will leave your wood cutting board with an unpleasant smell that will also noticeably change the taste of the food you are preparing.
Nut and seed based oils (linseed “flax”, tung oil, etc) are less prone to the vegetable oil issues, but some people have sensitive allergies and they can react negatively to trace amounts.

